

Install AxOS
So, you are ready to install AxOS? Great! This guide will help you to install AxOS on your computer.
Prerequisites
Section titled “Prerequisites”Required
Section titled “Required”| Component | Plasma | Calla | Sleex | Theom |
|---|---|---|---|---|
| CPU | 64-bit (x86_64) | 64-bit (x86_64) | 64-bit (x86_64) | 64-bit (x86_64) |
| RAM | 4GB | 2GB | 4GB | 2GB |
| Disk Space | 10GB | 10GB | 10GB | 10GB |
Recommended
Section titled “Recommended”| Component | Plasma | Calla | Sleex | Theom |
|---|---|---|---|---|
| RAM | 8GB | 4GB | 8GB | 4GB |
| Disk Space | 50GB | 20GB | 40GB | 20GB |
AxOS doesn’t support 32 bits and ARM architectures. If you are using a 32 bits or ARM architecture, you won’t be able to install AxOS.
Secure boot is not supported and YOU WON’T BE ABLE TO BOOT WITHOUT UEFI.
Support for virtual machine architectures is partially implemented and the time needed for the installation process may vary. We recommend an actual hardware installation for various reasons. Otherwise, try out the LIVE environment before installing, it is a point in time release using the desktop environment, Sleex.
Create the installation media
Section titled “Create the installation media”The installation media must be a USB drive or an SD card. You must have at least 2GB of free space. This number may change with subsequent releases.
Get the ISO
Section titled “Get the ISO”The ISO (or .iso) is the installation image of AxOS. You can download it from the AxOS release page. Please ensure you have the latest ISO, previous ISOs will often have installation issues with the evolution of the Arch ecosystem.
Flash the ISO to the installation media
Section titled “Flash the ISO to the installation media”There are three ways to create the installation media:
On Linux/MacOS:
Your mileage may vary with different image-writing applications (just as all other distro experience). Ventoy also works at the time of this writing.
You can either use the Balena Etcher app or the dd command.
sudo dd if=/path/to/axos.iso of=/dev/sdX bs=4M status=progress && syncBe aware that careless application of this command can and will likely eat your hard drive.
Be sure to replace /path/to/axos.iso with the actual path to the ISO file on your system and /dev/sdX with the actual path to the USB drive or SD card on your system.
You can find the path to the USB drive or SD card by running lsblk or fdisk -l.
On Windows: You can use the Rufus app or the Balena Etcher app. You can also use the dd command, but it’s not recommended because it’s more difficult to use.
Start the installation
Section titled “Start the installation”If you have the installation media ready, you can start the installation.
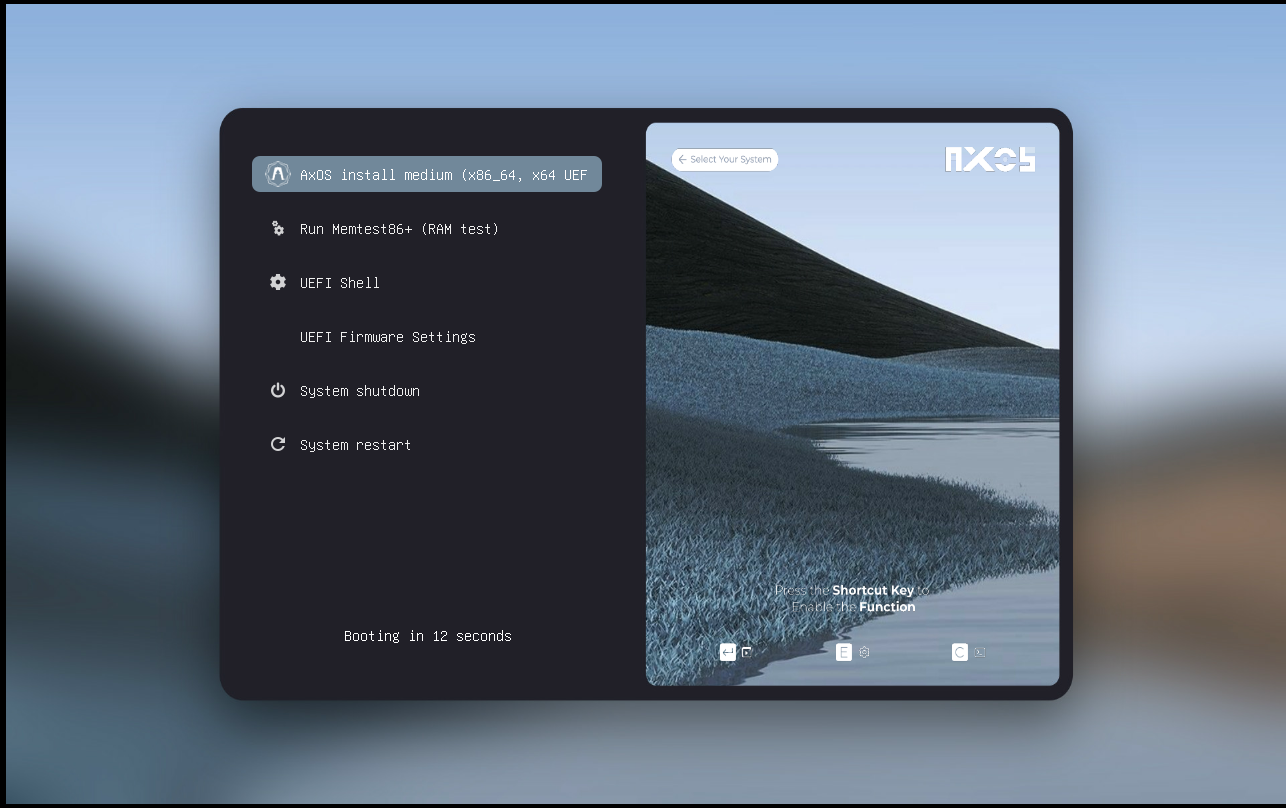
Boot from the installation media
Section titled “Boot from the installation media”- Plug the installation media into your computer while it’s powered off. This may mean inserting it into a slot or attaching via USB.
- Access the boot menu of your computer. The key to access the boot menu varies from one computer to another, but it’s usually F2, F10, F12, Delete, Esc, or F1.
- Select the installation media as the boot device.
You should now boot to the live AxOS environment. The live environment is a testing environment, so you can try AxOS without having to install it. By default, the live environment is the Sleex desktop environment.
You should now see this screen (or very similar).
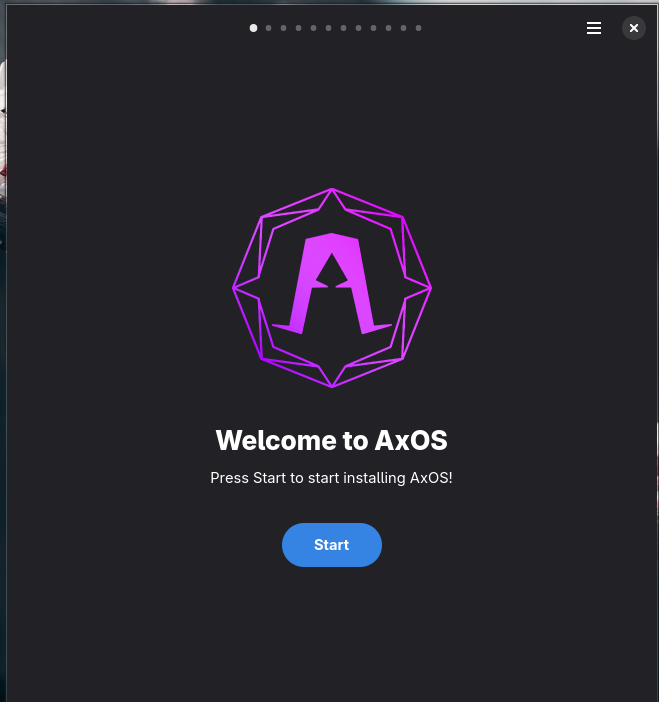
Install AxOS
Section titled “Install AxOS”Are you ready to install AxOS? Great! The install app should automatically start, otherwise you can find it in the app menu with the name Install AxOS. This app will guide you through the installation process. Use the super key (Windows key) to activate the search menu if needed.
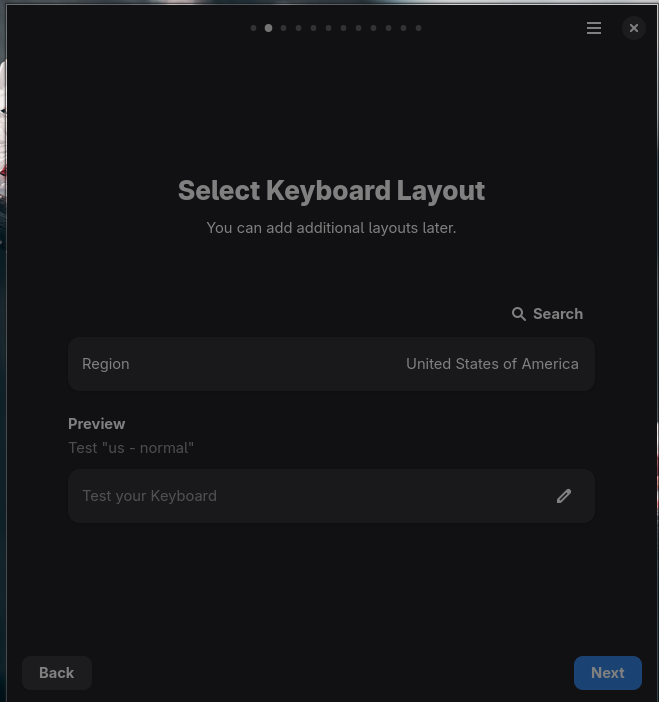
Step-1: Choosing layout
Section titled “Step-1: Choosing layout”Choose your preferred keyboard layout.
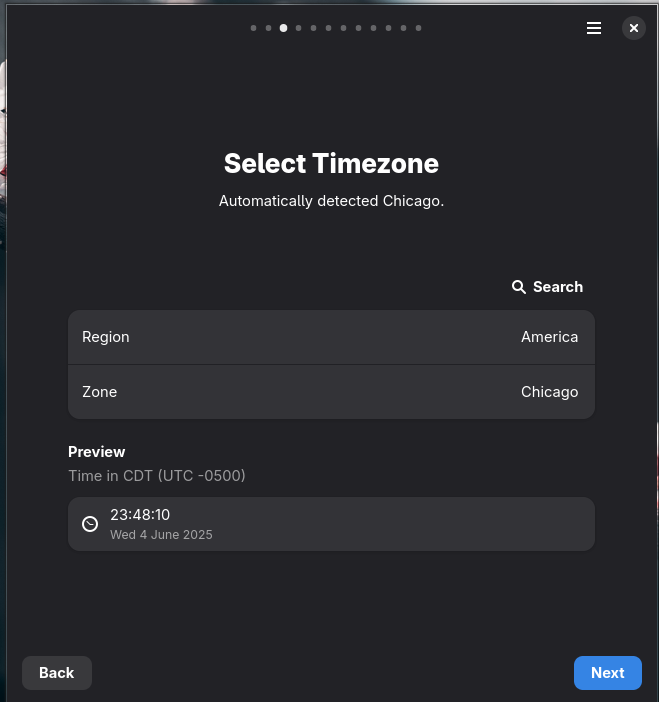
Step-2: Time zone
Section titled “Step-2: Time zone”Select your timezone.
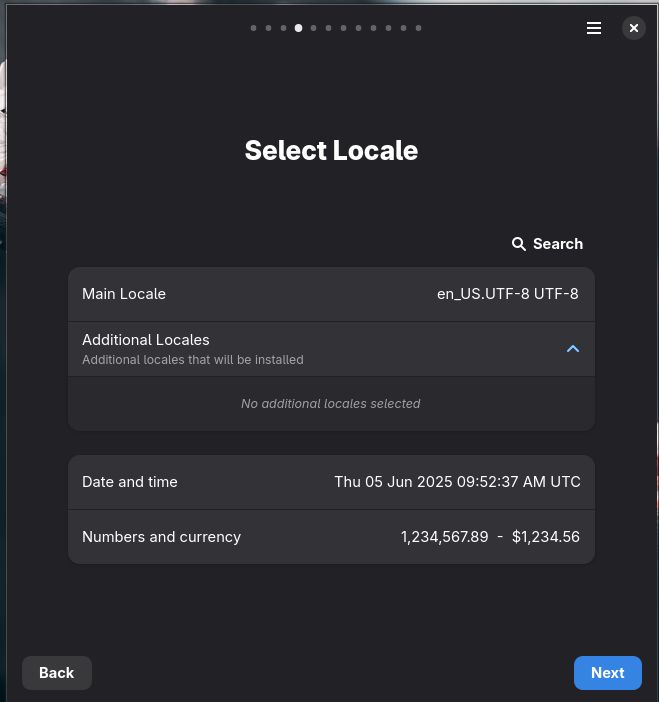
Step-3: Locale and date
Section titled “Step-3: Locale and date”Set the system locale and date settings (beware of this issue).
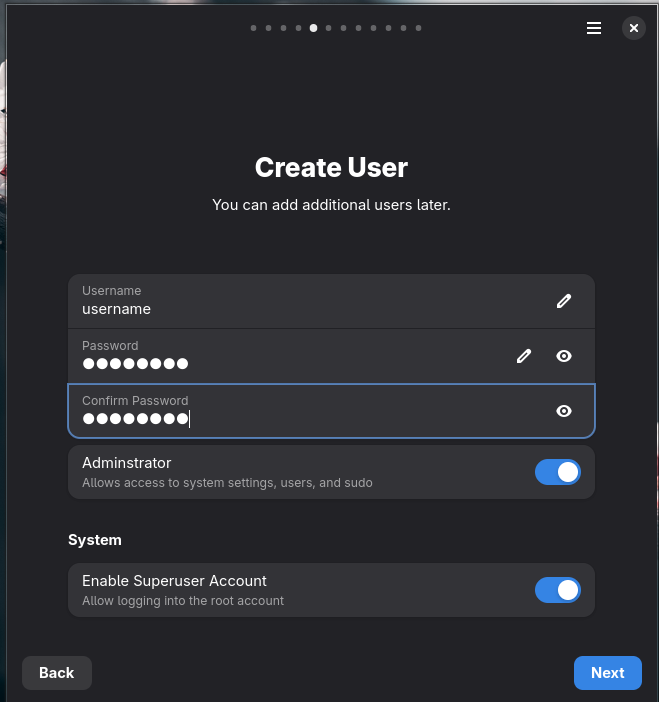
Step-4: Creating user account
Section titled “Step-4: Creating user account”Create user account with username, password, and admin rights.
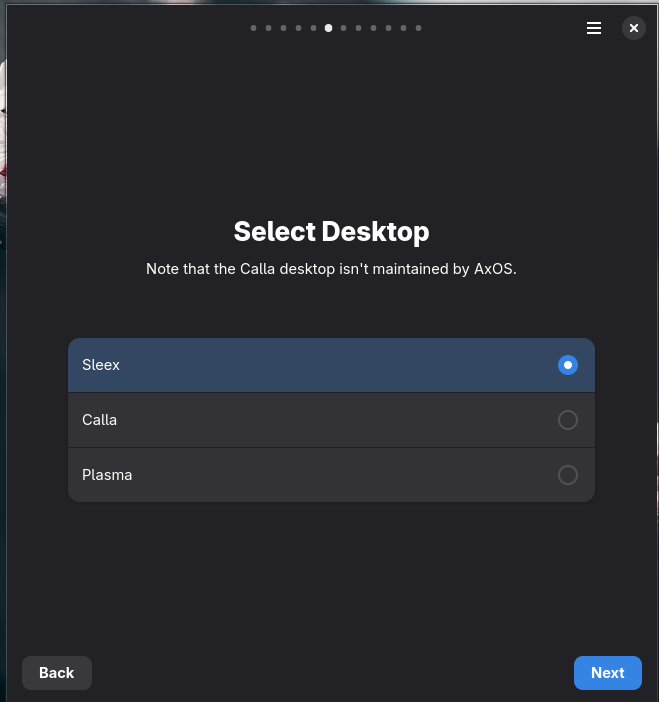
Step-5: Choose your desktop
Section titled “Step-5: Choose your desktop”Choose your desktop between Plasma, Calla, Theom or Sleex. See what they are in the dedicated desktops tab
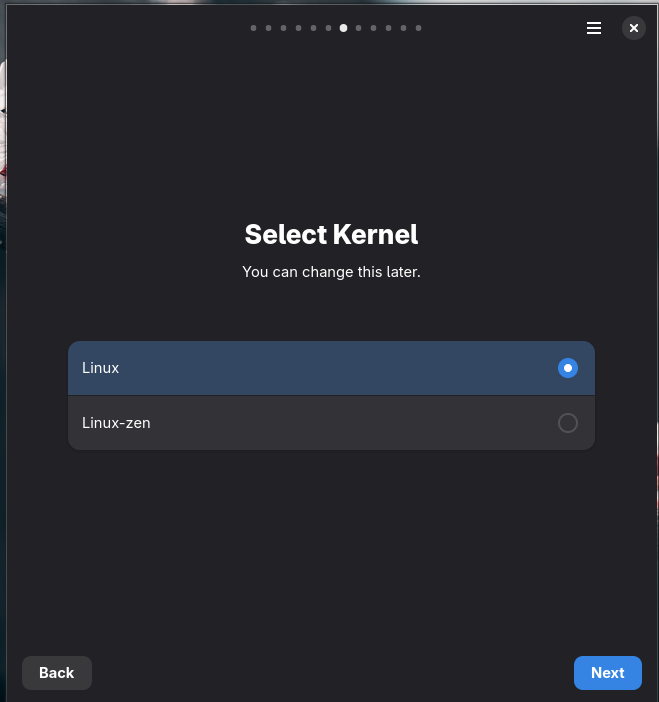
Step-6: Kernel
Section titled “Step-6: Kernel”Choose between Linux or Linux-zen kernel. The Linux kernel aims for stability and the zen focuses on the performances, but is less stable.
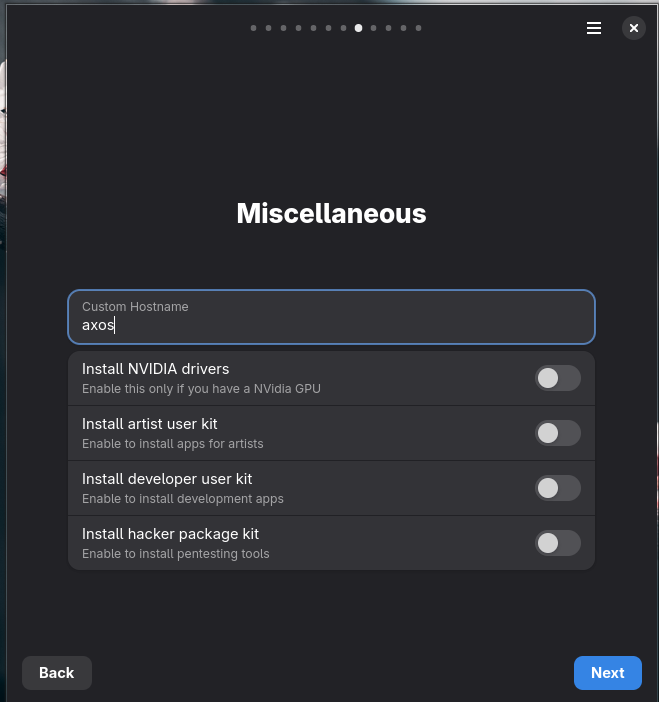
Step-7: Drivers, Optional packages, Swap
Section titled “Step-7: Drivers, Optional packages, Swap”Configure NVidia drivers, optional app packages and your desired swap size(screenshot outdated).
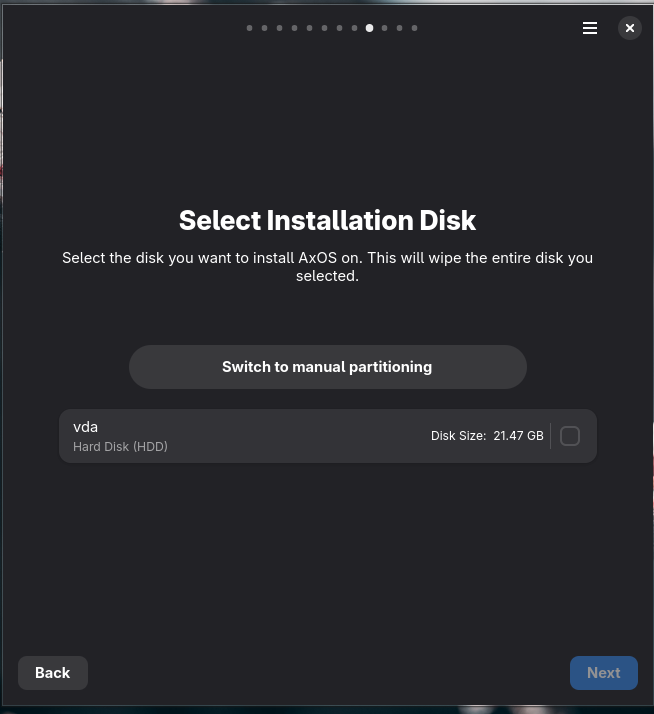
Step-7: Installation disk and partitioning
Section titled “Step-7: Installation disk and partitioning”Choose installation disk and partitioning method.
Step-8: Validation
Section titled “Step-8: Validation”Verify selections and begin installation.
Take a look at the choices you’ve made, validate everything, and then start the installation. The installer will fetch the latest packages and install them in the selected disk. This process can take a few minutes, depending on the speed of your disk and internet connection.
Important note: if you are requested for a password in the live session, this password will be live.
Conclusion
Section titled “Conclusion”You have now installed AxOS! You can now reboot your computer and enjoy your new operating system.